Once the students have settled on their images, they begin the process of adhering them to the tiles, sealing the tiles and then threading and finishing the bracelet. This process is labor intensive and takes a few days. The teacher, Ms. Kelly Burns has provided the Project 1 handout here that she shared with the class.
1. Students need to print out the images to fit on their tiles. Make sure, when reducing the images, they still work well at a small size and do not fall apart.
2. Students cut the images to size or cut out parts of their images to place on the tiles. Using a sharp X-acto blade is a good idea. Make sure the images fit exactly on the tiles, no stragglers or extra paper hanging over.
3. Students then use a simple glue to adhere the print to the tile. Elmers if fine.
4. Their tiles must be painted on all sides (back and sides of tile), therefore if any touch up is needed now is the time to clean up, paint, and get their tiles looking the best they can.
5. Next, they must use Mod Podge to coat each tile. Two or three coats, drying in-between. The Mod Podge is a water base sealer, glue and finish.
6. Finally, resin must be applied and allowed to dry completed before final stringing of the beads. There are two parts to the resin, part A and B. Mix the parts equally (1 to 1)!! They must be mixed together for 2 minutes, stirring continuously, and then let the mixture sit for 5 minutes before use. Use right after five minutes or the mixture will start to harden and be useless. If there are bubbles, you can use heat to get rid of them or they will eventually dissipate when the resin is applied to the tile surface. It is best to give the students a hard surface to place their tiles on and then apply the resin (matte board is a good idea for a hard surface). To apply the resin, use a toothpick or scrap piece of metal to move the resin around on the surface of the image. Apply a bit in the center and then move to the edges. Make sure there is enough to coat the top of the tile for good protection. Once the resin is applied, place the tiles in a secure cabinet so no one will disturb them for 24 hours. Complete drying is necessary. (If you end up with sticky resin coating, you should try again. Make sure your mixture is 1 to 1!!)
7. If the resin has clogged the drill holes, then re-drill the holes so the elastic string can be easily threaded.
8. Use the elastic string to thread the tiles and beads in the desired pattern. The students enter the first hole and complete one side then keep the threading going down the other side. This ensures knotting only once at the beginning and end of the threading process (less un-knotting and breakage). Some students used a piece of tape to hold the beginning thread so they could use both hands when stringing everything.
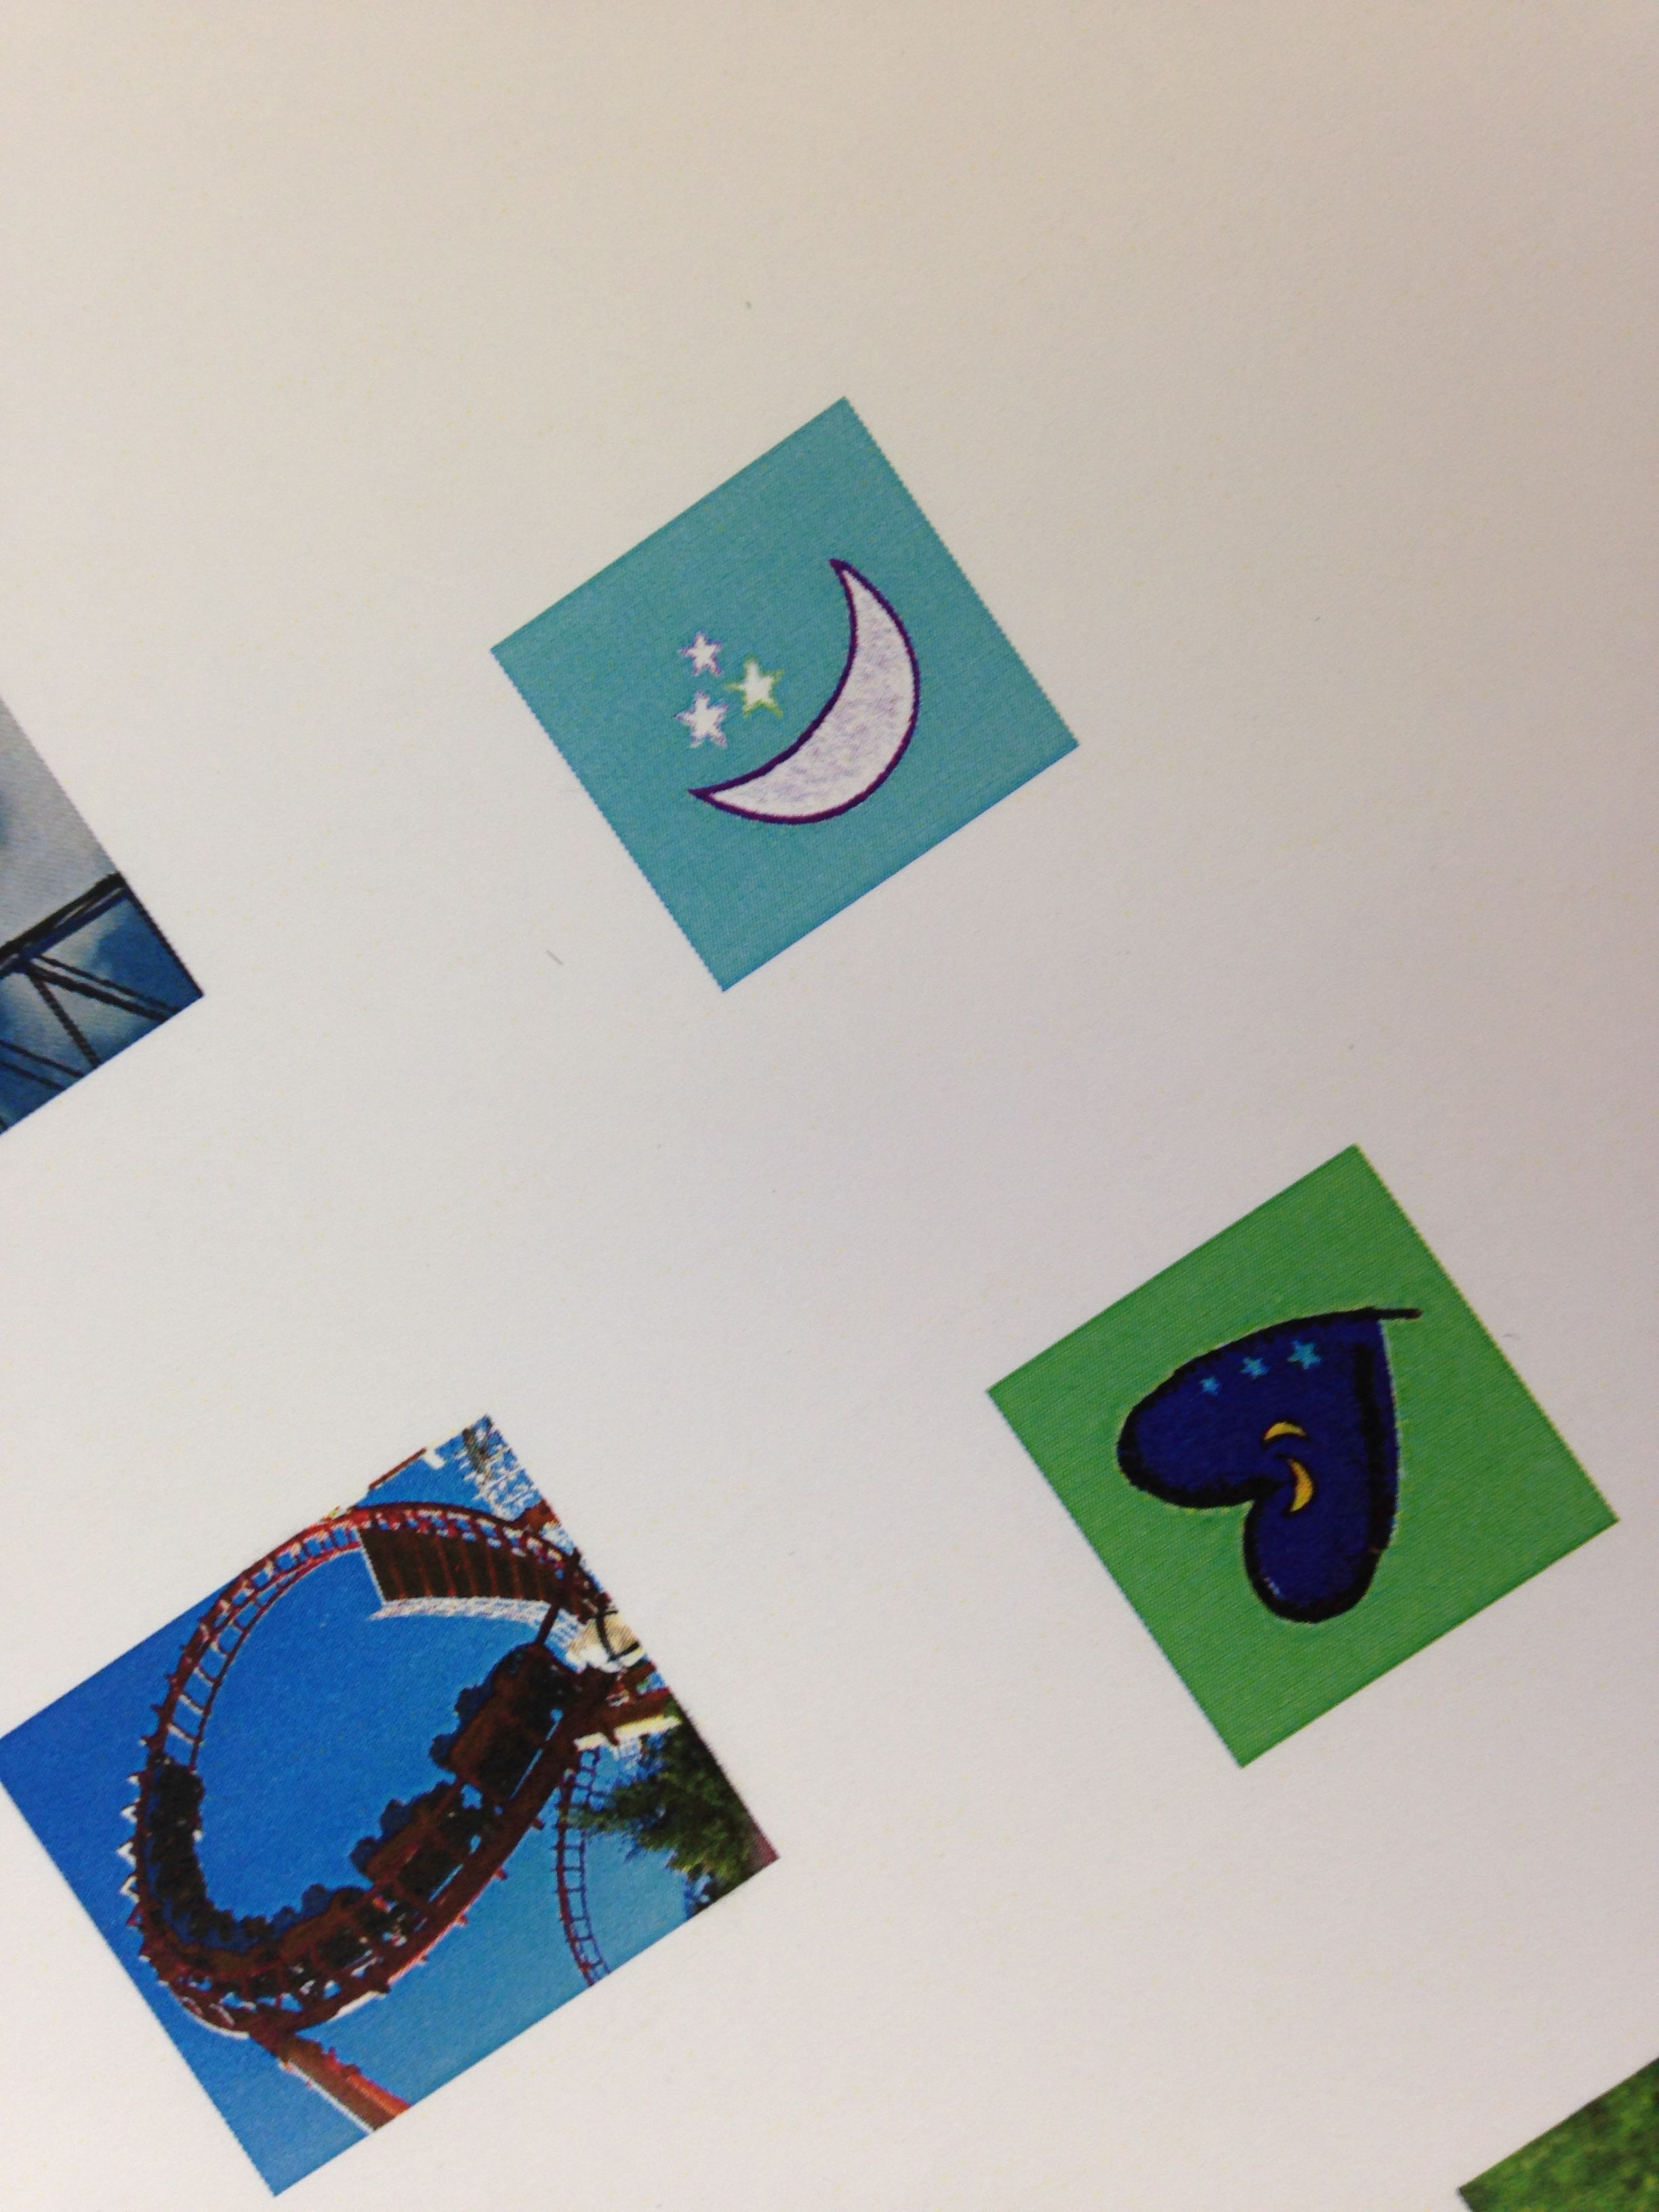
Drawings and photos for images
Cutting the prints to size (use a sharp X-acto blade)
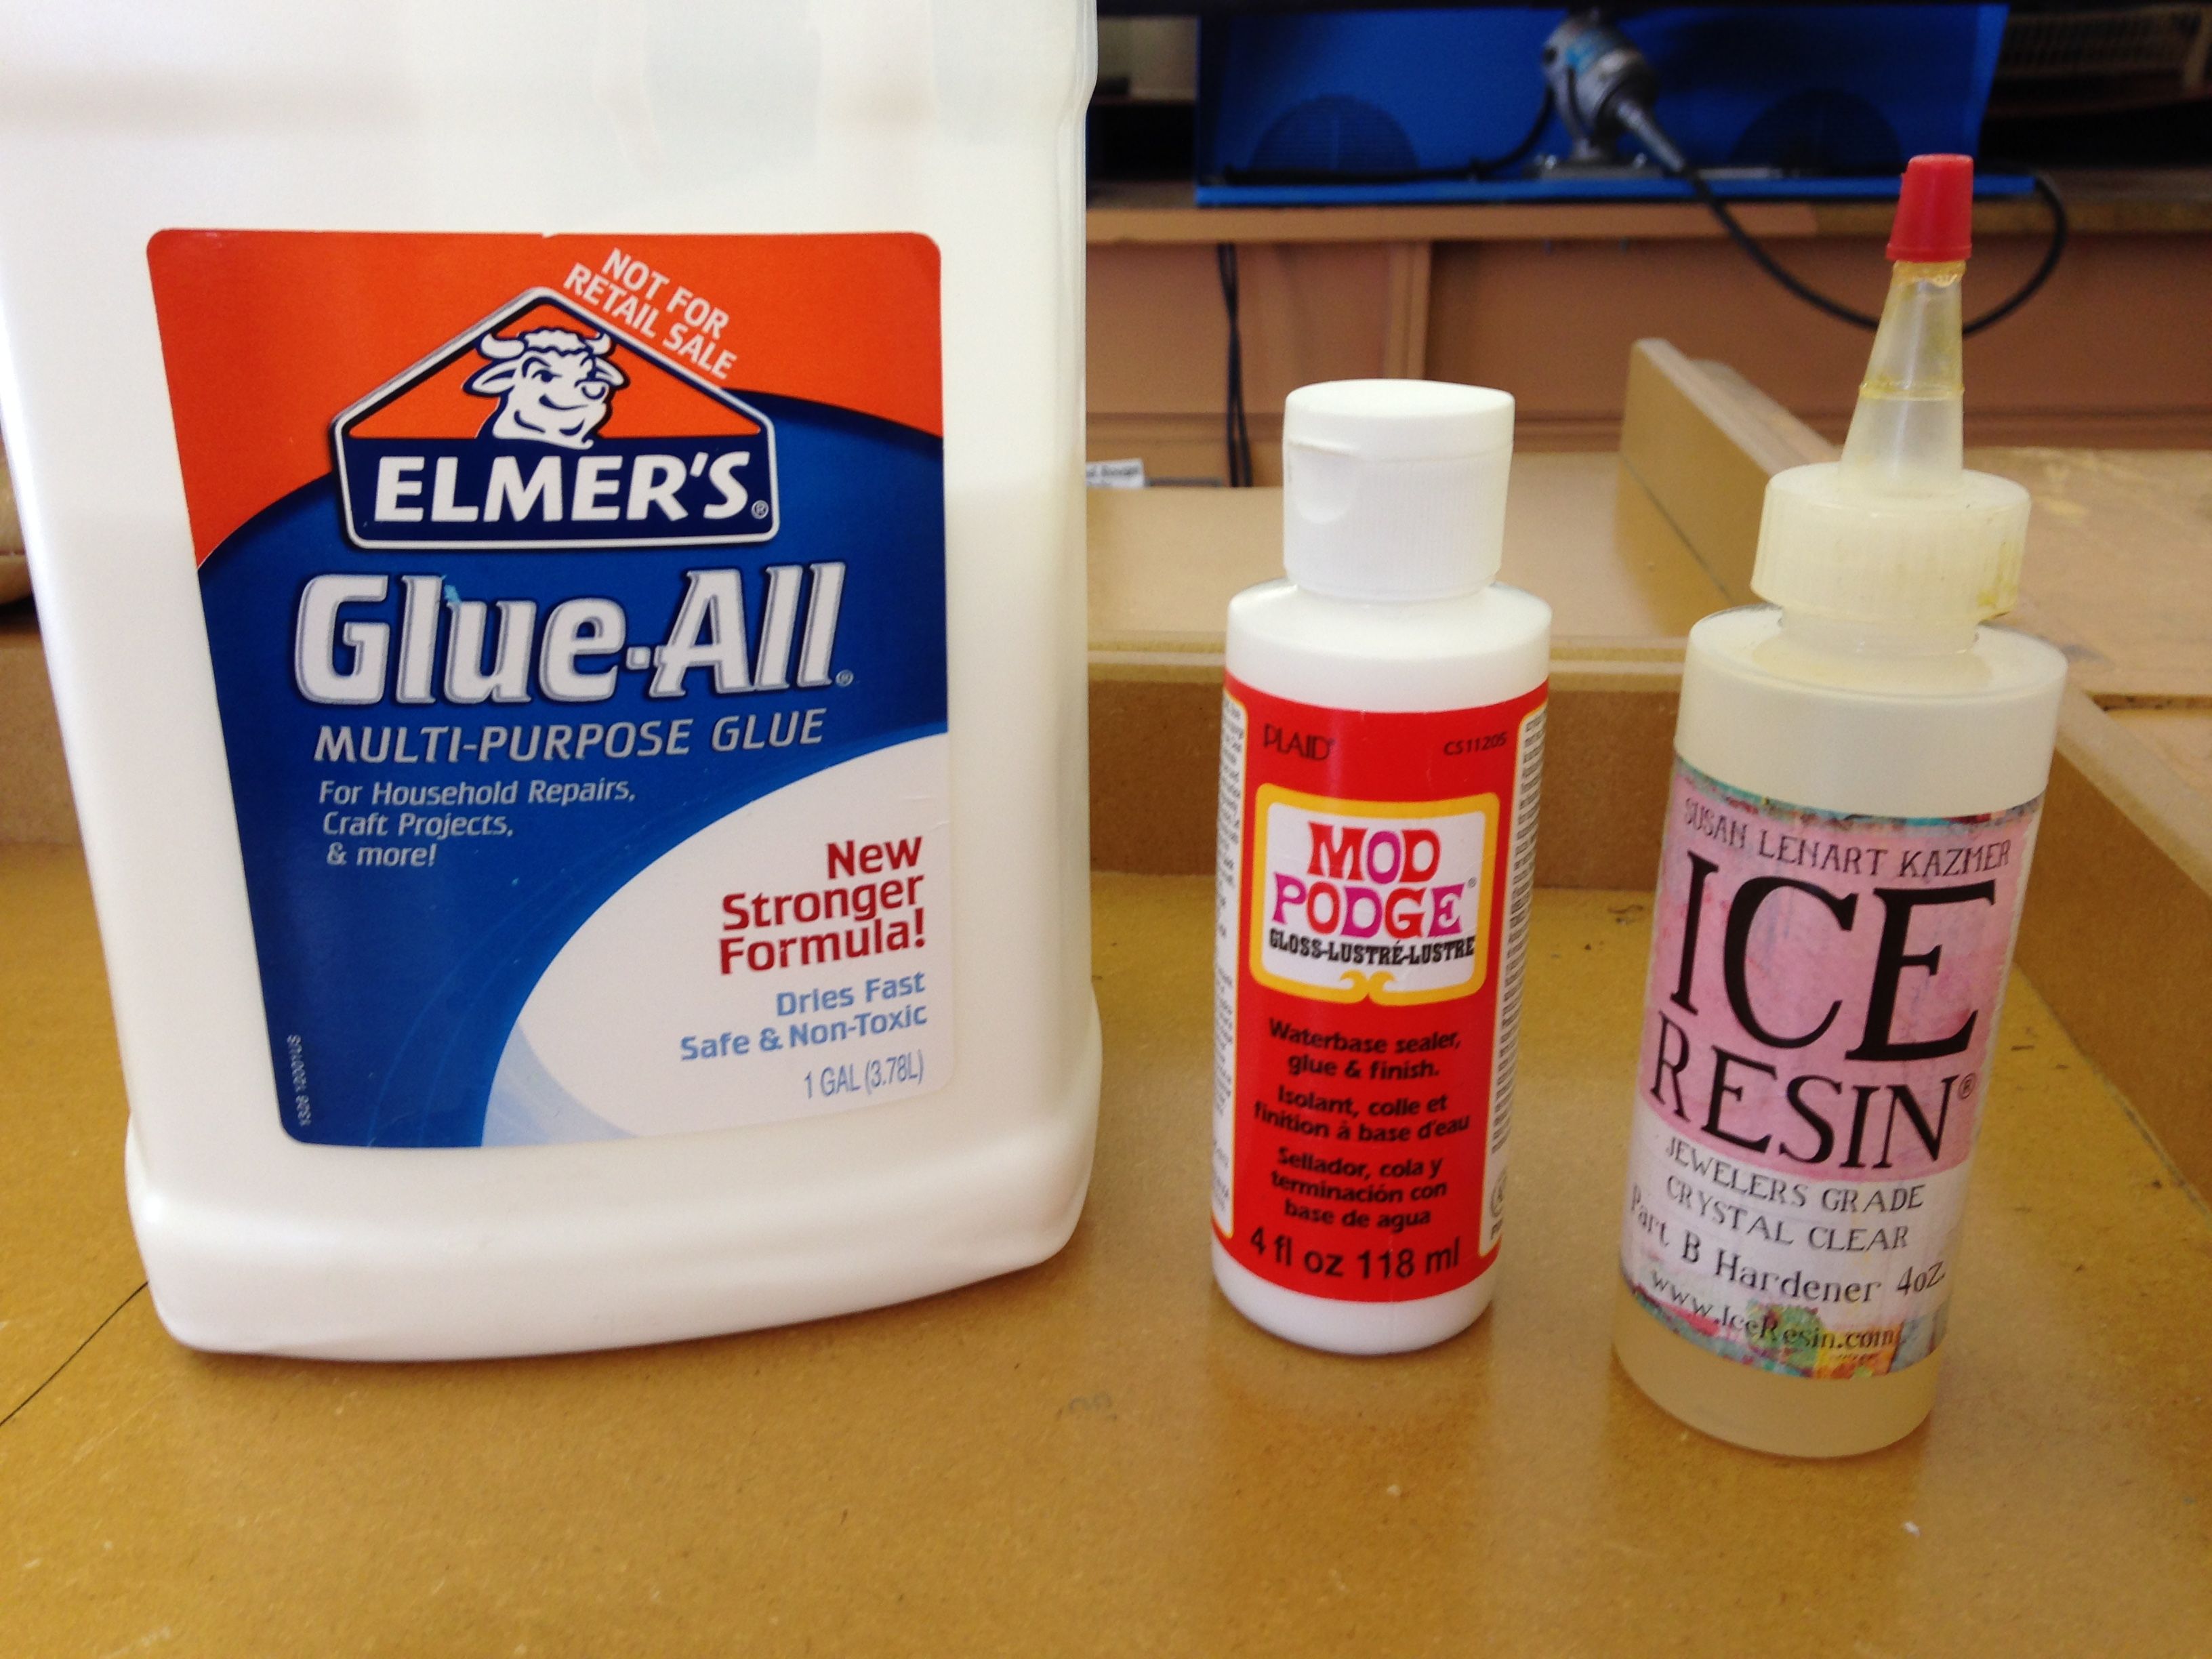
Glue, Mod Podge, Resin
Painting the sides of the tiles
Applying Mod Podge
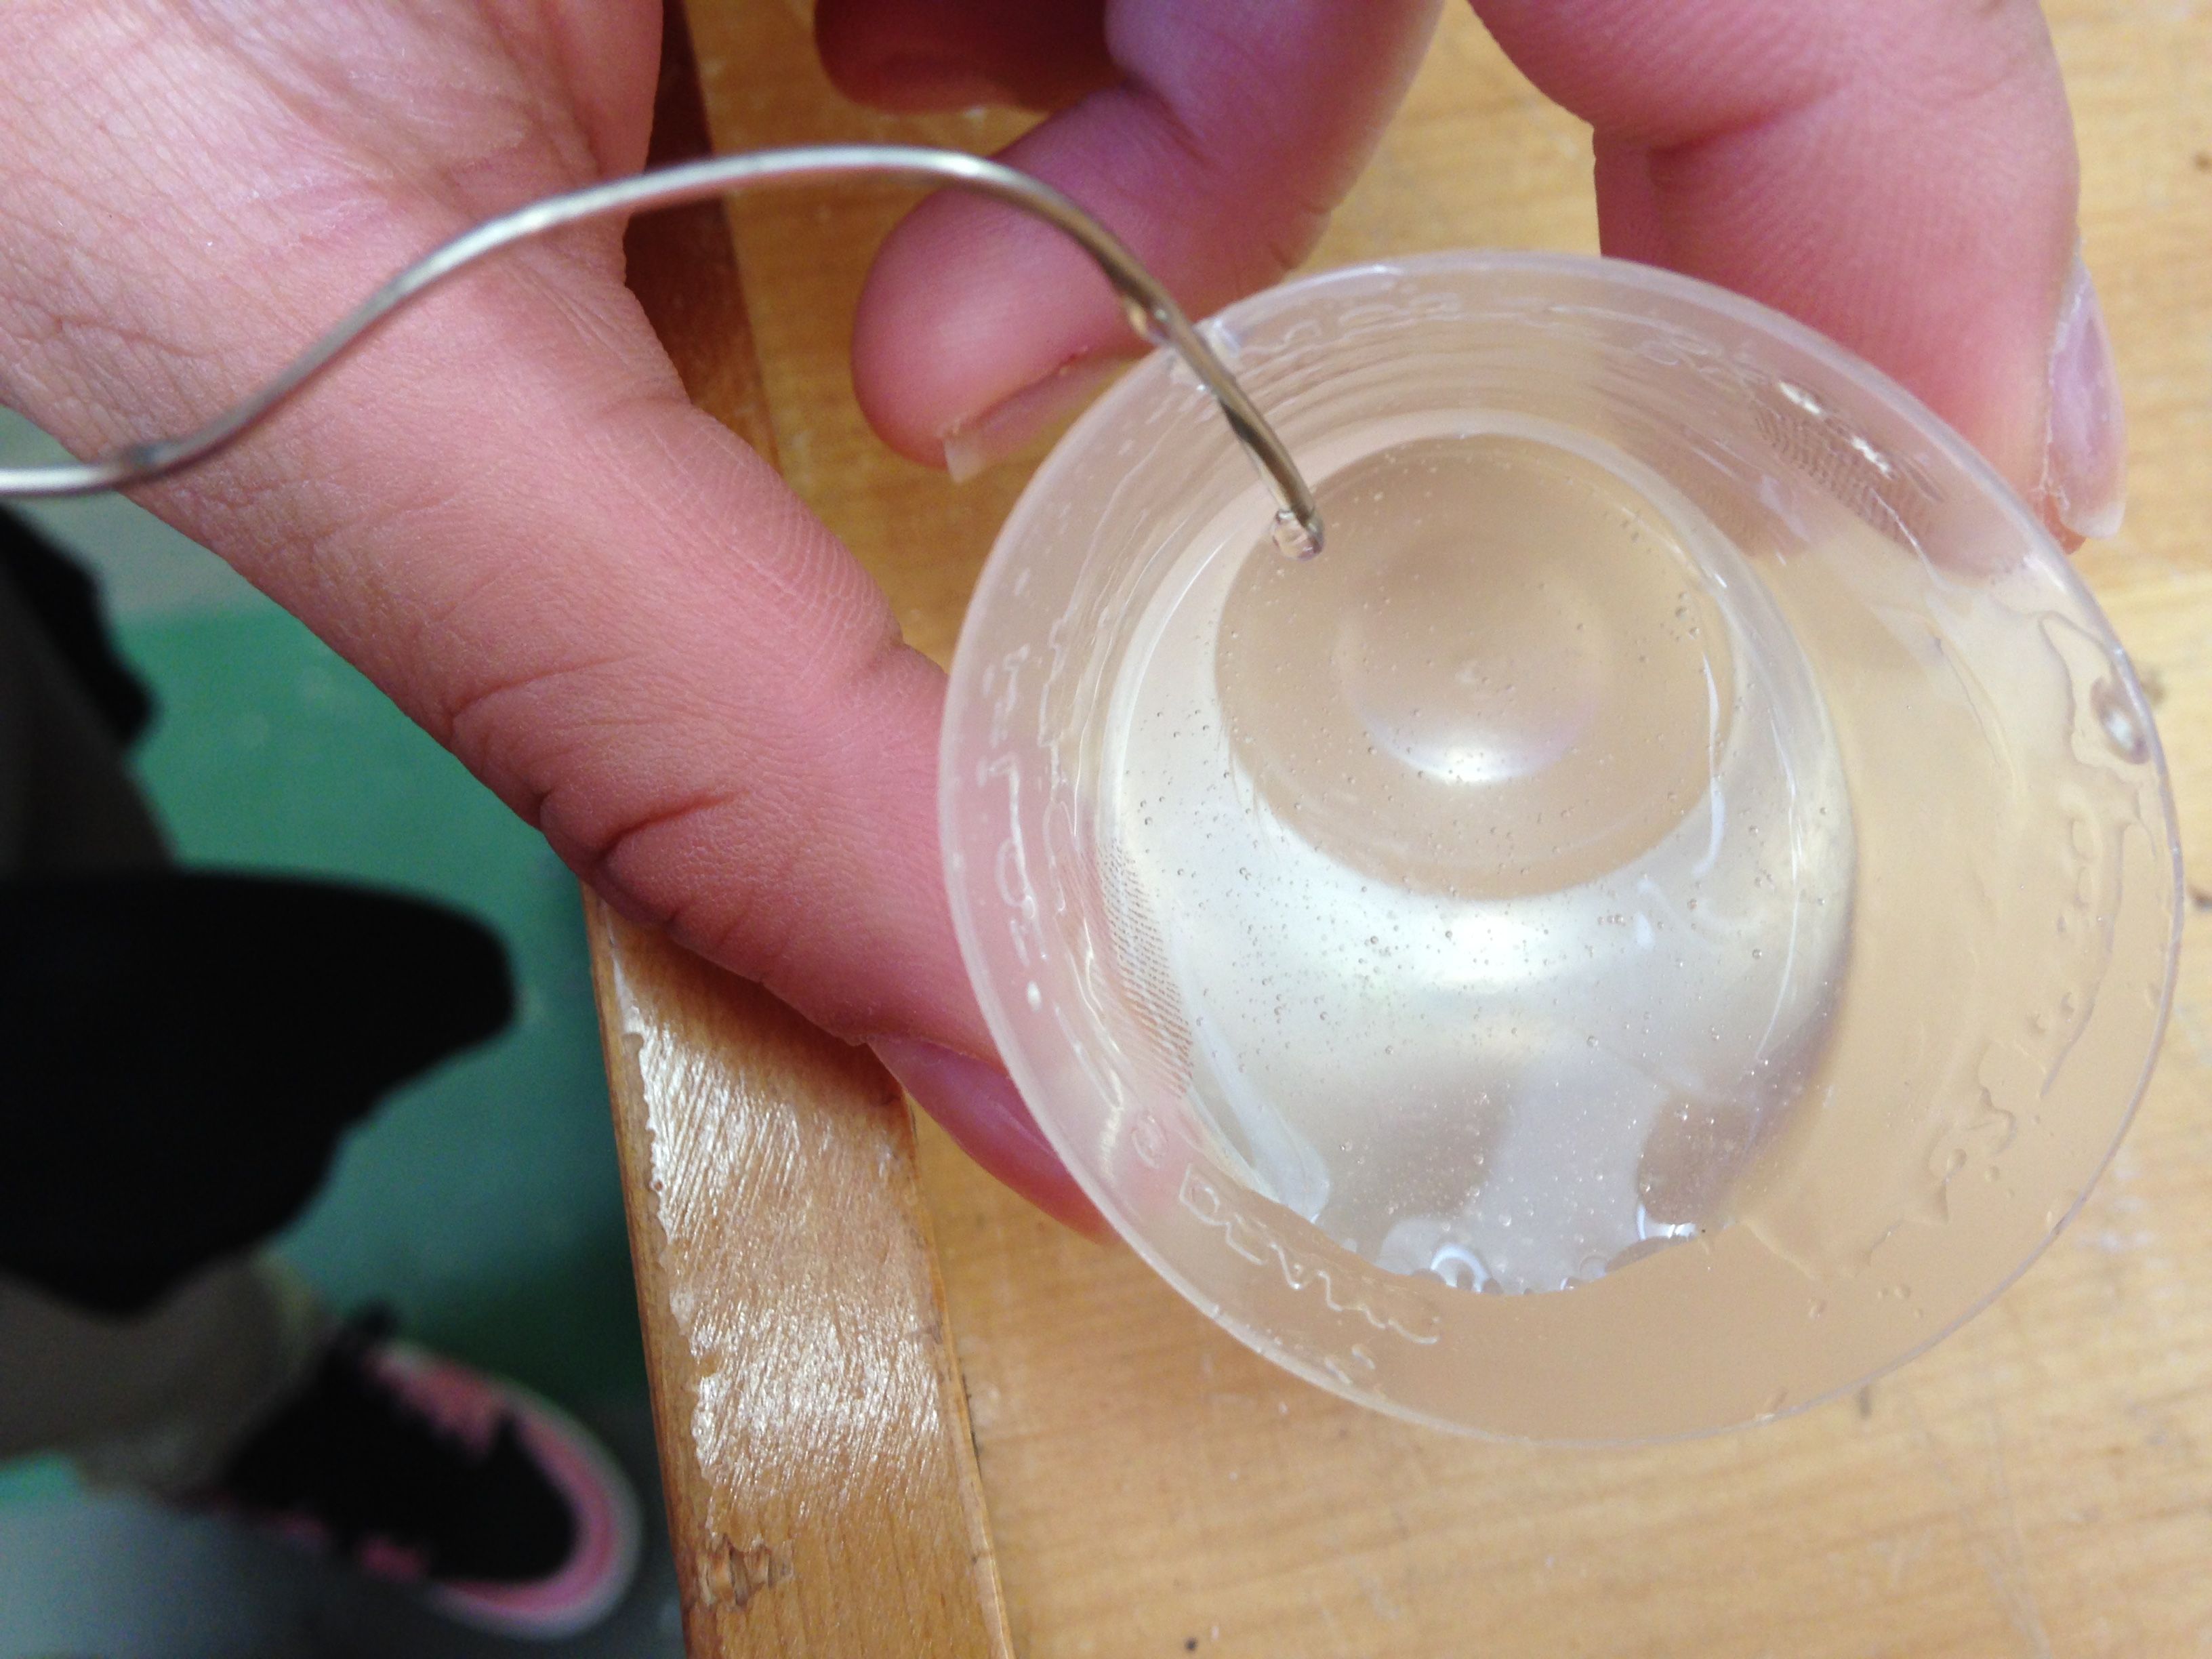
Mixing Part A and B of the resin
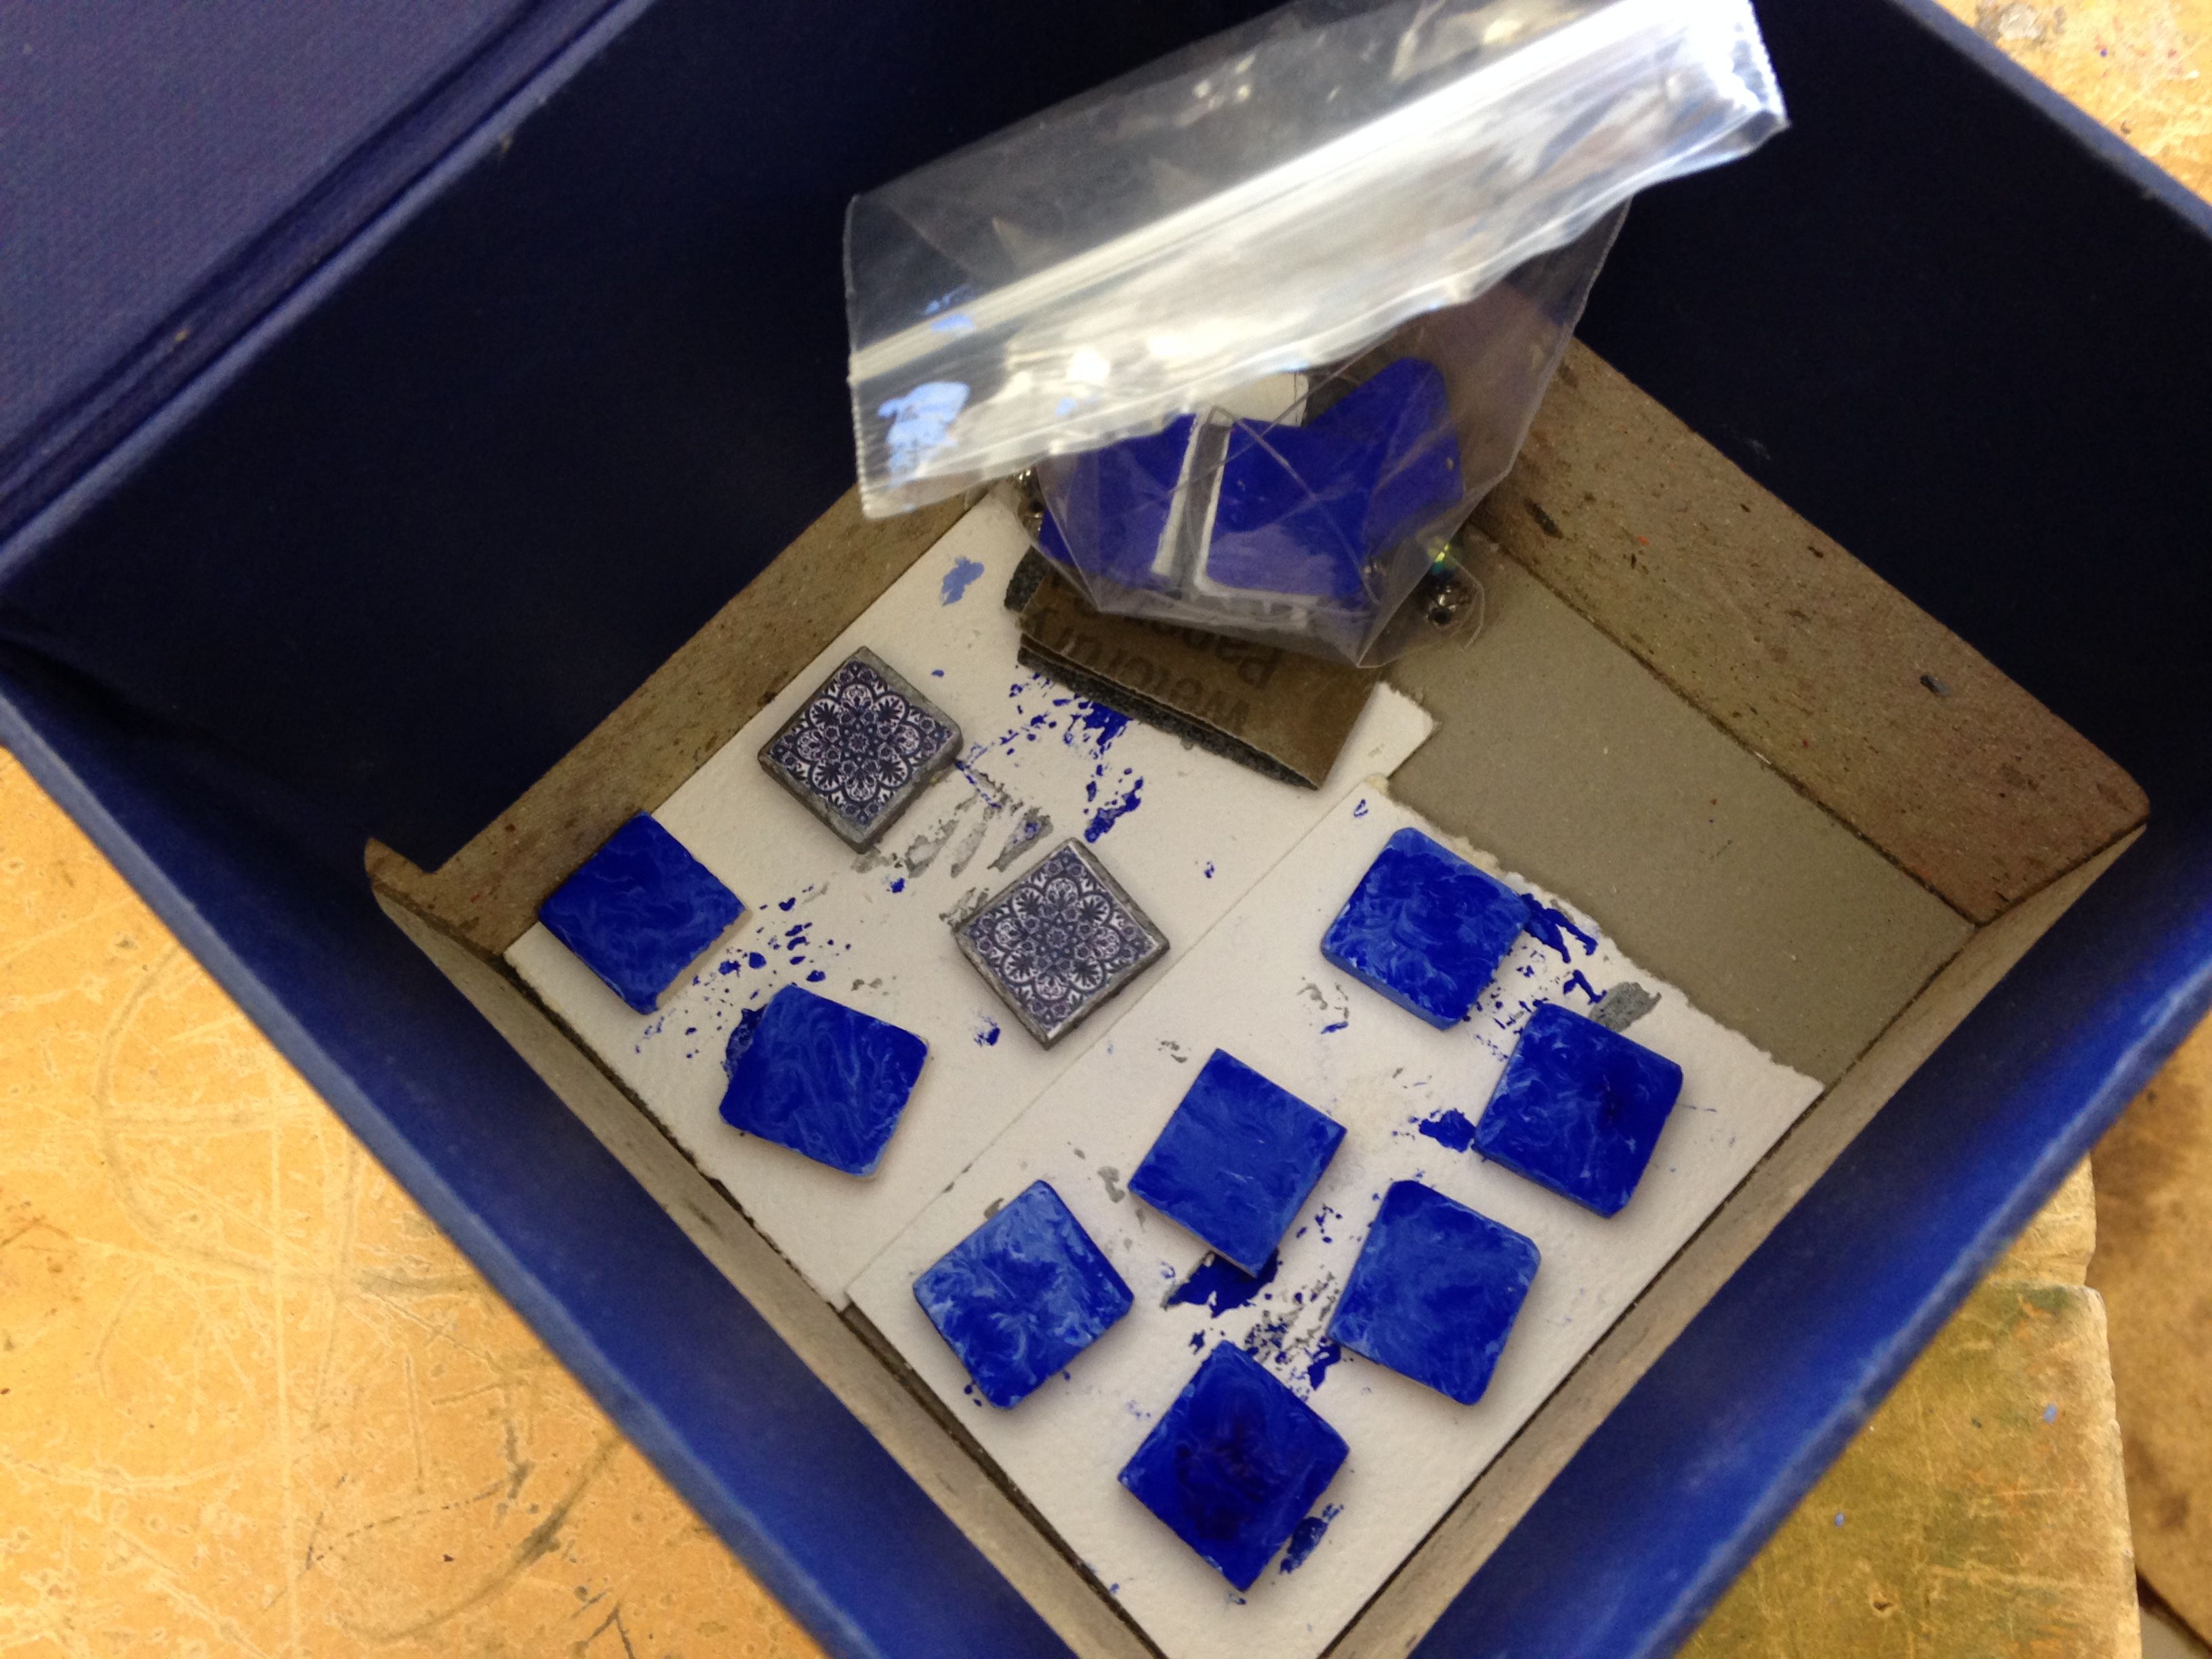
Drying tiles safely
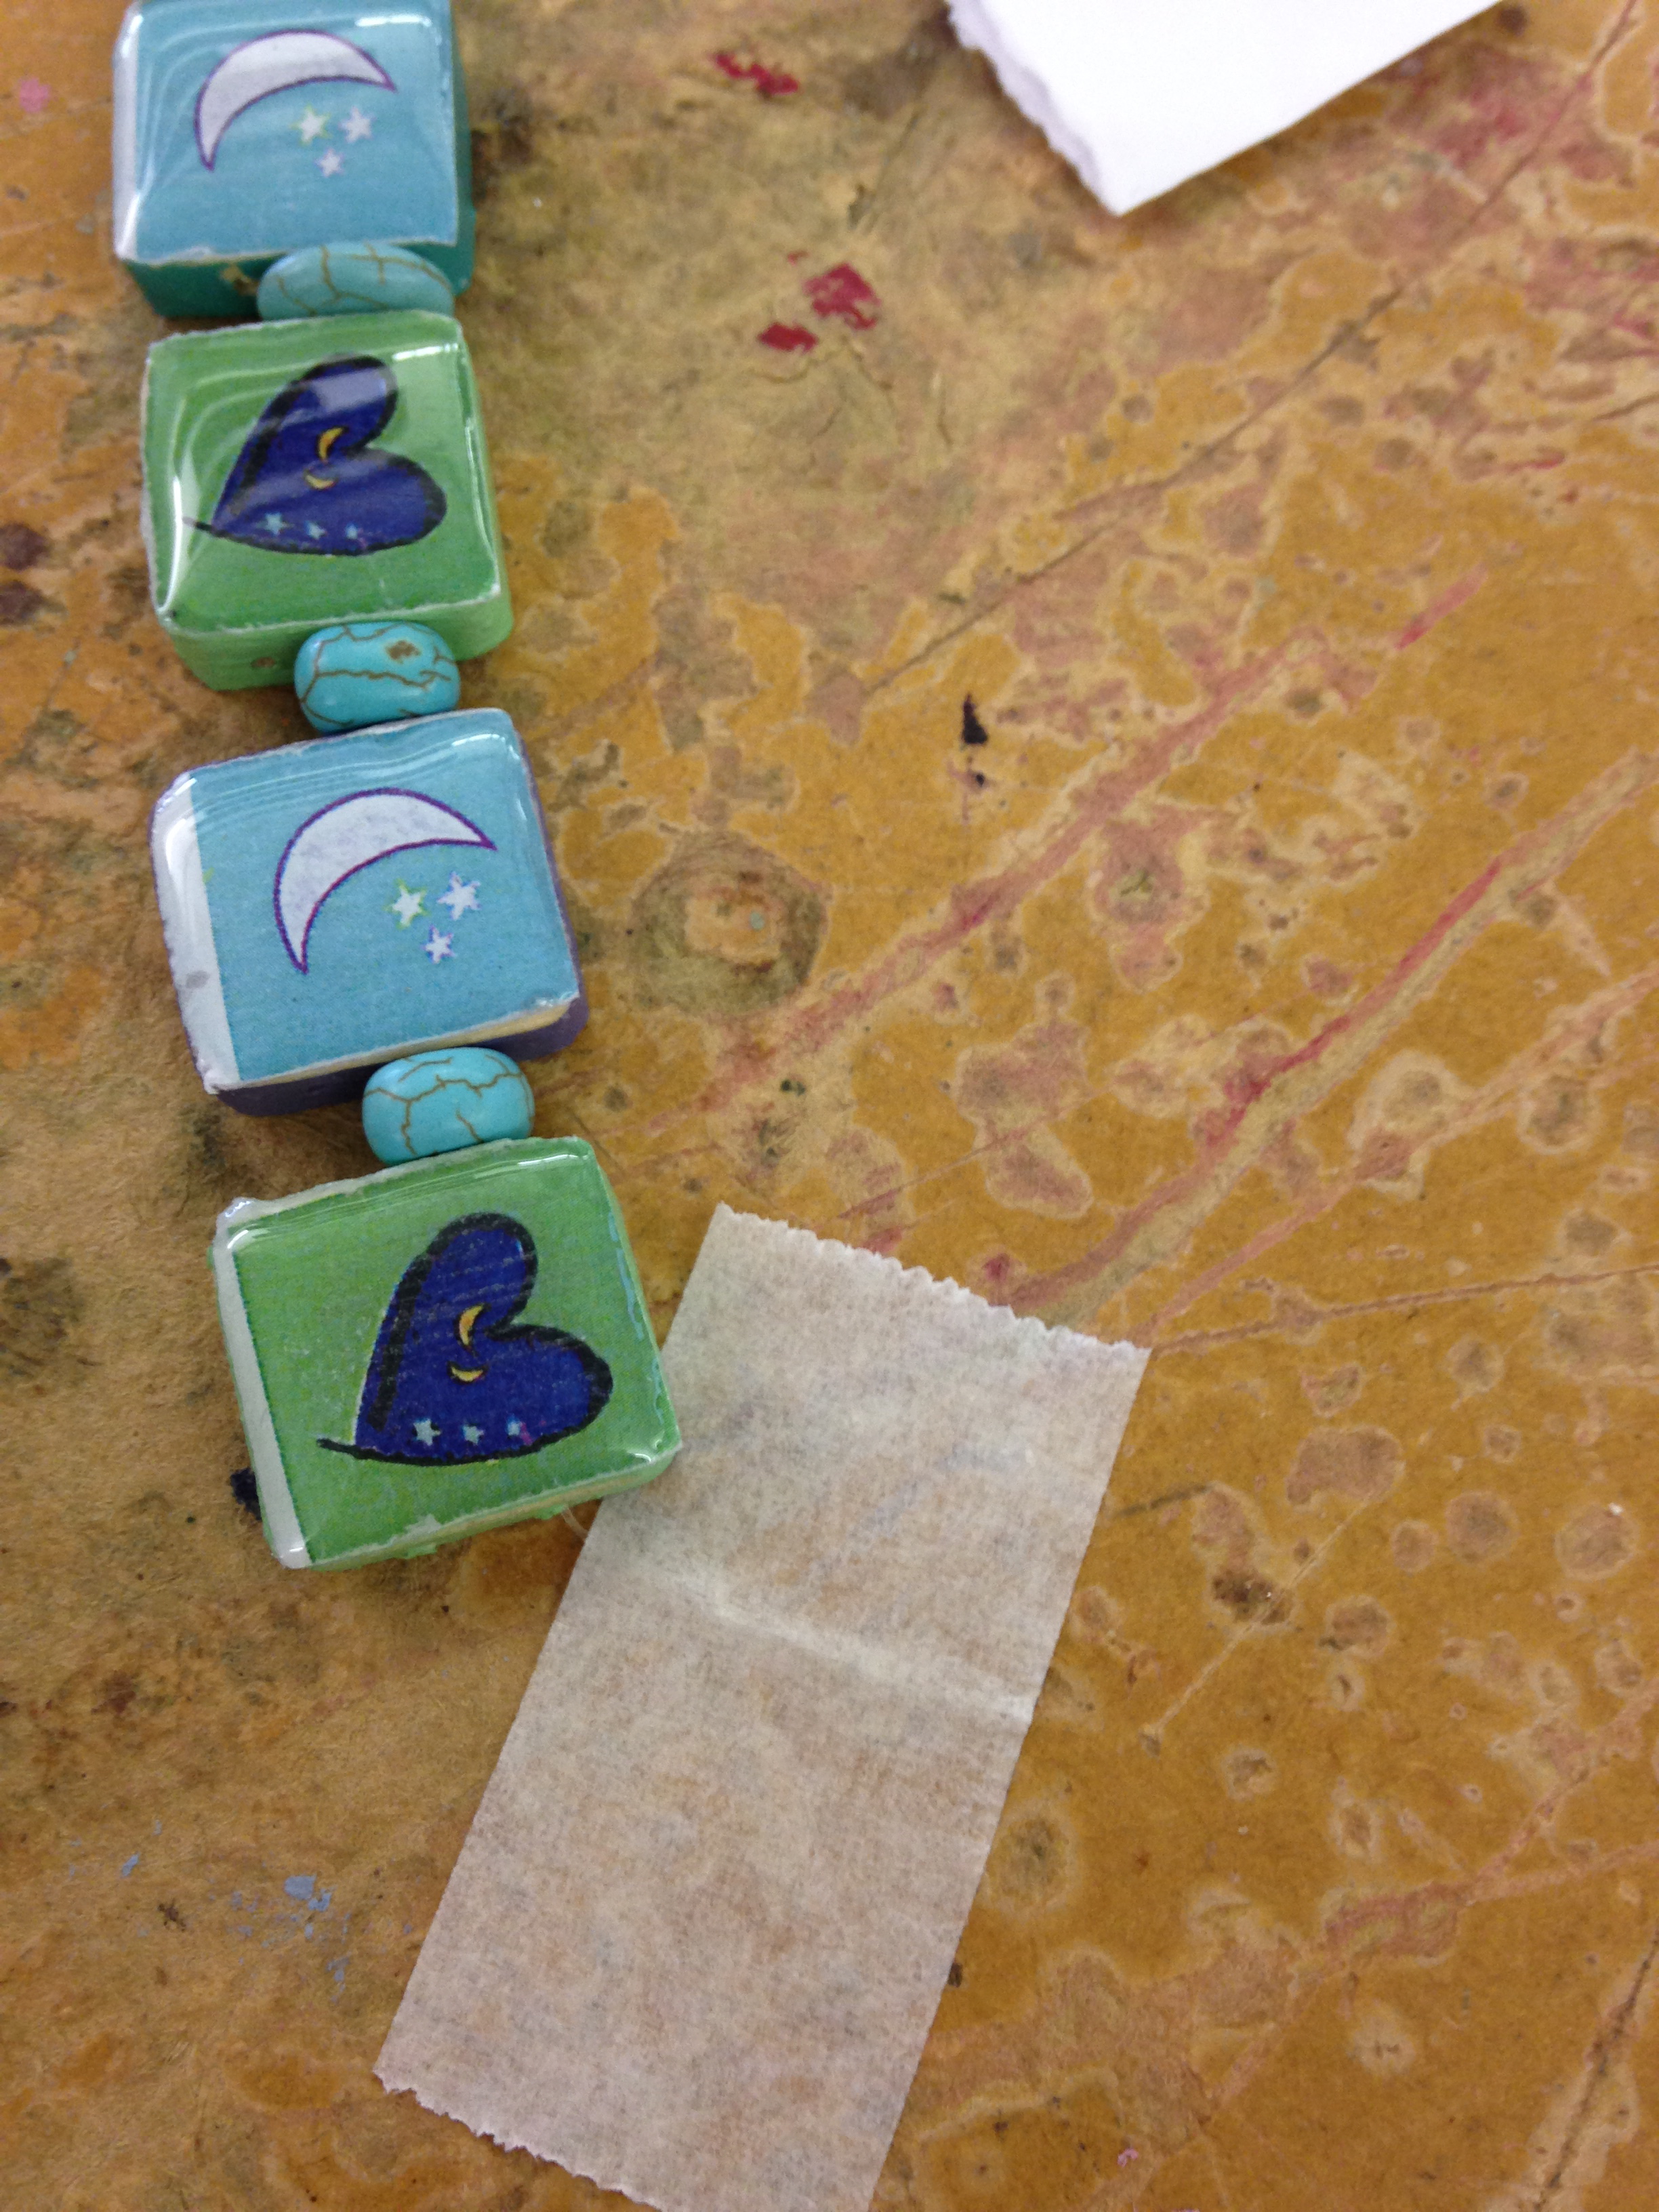
Using tape to hold the beginning when threading (genius!)
Stringing the tiles and beads